Review: Smith's 2-Step Knife Sharpener

As is often said, there is nothing in the kitchen more dangerous than a dull knife. And, as I've said before, I'm a knife freak, and I love them sharp enough to shave with. Although this is often referred to as "scary sharp", it's really about safety.

There are a few different kinds of "sharpening". First, you need a nice solid edge. You get this by creating a new edge about every six months or so, with normal household use. For this you can send them out to a professional, or you can tackle the job at home with something like the Warthog Sharpener.

Once you have a nice edge, you keep it sharp with regular honing with a steel. I try to be religious about using one before and after each serious use of my knives.

In between major sharpenings there will be times when your edge needs a tune-up that's too much for a steel, and too little for a major sharpening. This is where the Smith's 2-Step Sharpener really shines.

Review: Smith's 2-Step Knife SharpenerThis little gem is worth many times its weight in gold. I never cease to be amazed at how such a small tool can do such wonders on a blade with just a few strokes.

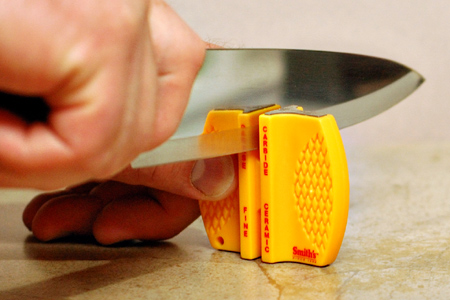
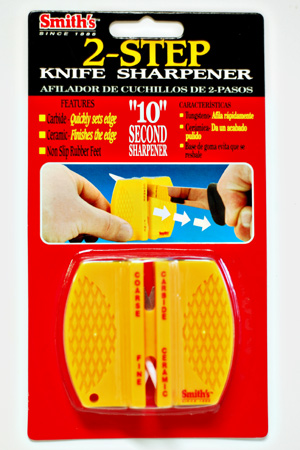
As you can see by its name (and in the pictures above), this sharpener has two sides, or "steps". One is a set of carbide blades that set (or reset) the edge, and the other is a set of ceramic rods that sharpen the edge.

To use it, you simply start with a swipe or two through the carbide end as I've shown in the first picture. Then you simply flip it over and run the blade through the ceramic end a few times. That's it!

I cannot recommend this little tool highly enough. I get mine at Lowe's at less than $4. Get several and put them wherever you regularly use knives. If you are a competitive barbecue cook like me, keep one in your road kit at all times.

Review: Smith's 2-Step Knife Sharpener
Thanks to my occasionally odd but always lovely eldest daughter, Hailey, for her photographic assistance. Nobody can push a button like an eldest daughter.

Labels:


Beans On Bread

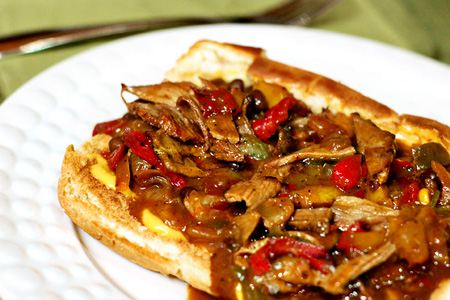
Did I mention that I love beans? I do, and here is one of my favorite lazy meals that I fancied up a bit last night because the leftover planets were all in alignment.

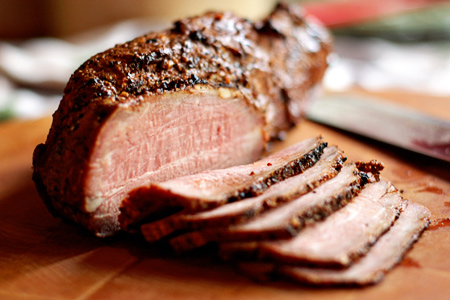
My normal beans on bread typically amounts to some baked beans dumped on some bread and doused with hot sauce of an appropriate variety. On occasion I'll go the beanie weenie route. This time I'm going top-shelf with some leftover tri-tip from Sunday night, some new beans, and sauteed onions and peppers. Oh, and although we're going into tall cotton, we'll keep things well-grounded with a slather of Cheez Whiz.

Ingredients
4 Good hoagie rolls
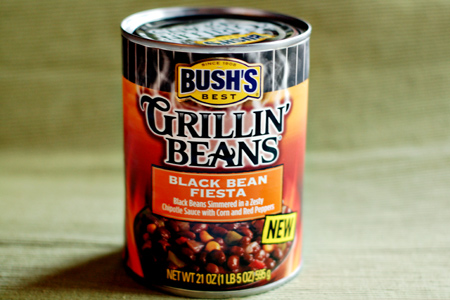
1 can (21 oz) Bush's Black Bean Fiesta, undrained
1/2 lb Leftover grilled steak
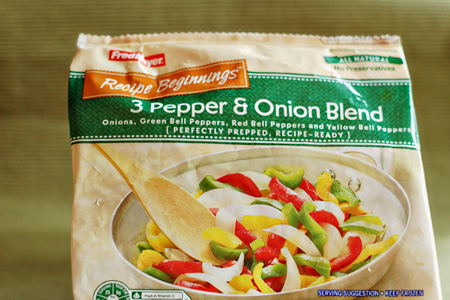
1 bag (12 oz) Frozen peppers and onions
1/2 cup Cheez Whiz
1/4 cup Molasses
1 tsp Your favorite hot sauce
1 tsp Garlic salt
1 Tbsp Oil

Beans On Bread

Beans On Bread

Method
Preheat your oven to 350º.

Combine the beans, molasses and hot sauce in a medium sauce pan over medium heat.

Bring the beans to a simmer, uncovered, then reduce the heat to medium-low.

Slice the steak thin, then chop to approximately 3/4" and set aside.

Beans On Bread

Defrost the peppers and onions in the microwave and drain the liquid.

Heat the oil in a medium saute pan or on a griddle over medium-high heat.

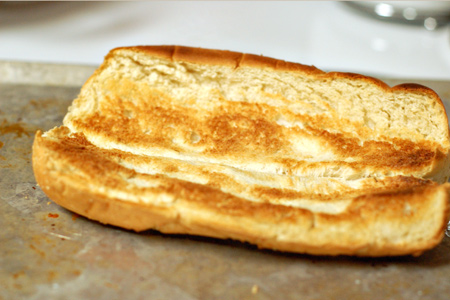
Put the hoagie rolls on your middle oven rack.

Add the peppers and onions to the pan/griddle.

Season the veggies with the garlic salt and saute until they are just starting to brown around the edges (about five minutes).

Add the steak and the onion/pepper mixture to the beans.

Remove the rolls from the oven.

Beans On Bread

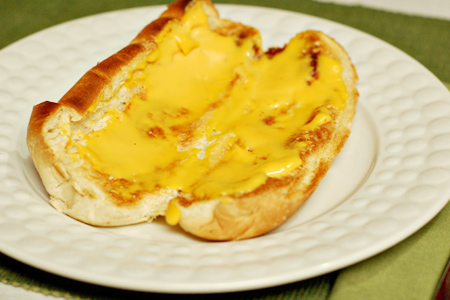
Smear the inside of each roll with Cheez Whiz and put them back in the oven.

Turn the oven to broil for about a minute.

Remove the cheesy rolls from the oven.

Beans On Bread

Ladle a good portion of the bean, veggie and steak mixture on the top of each roll.

Serve and enjoy!

Labels: ,


Funky Refried Beans

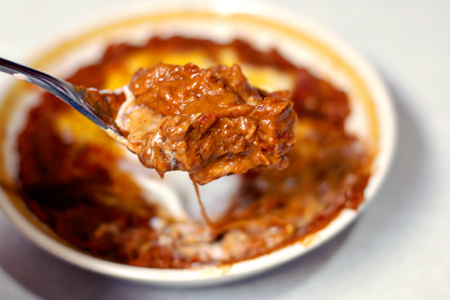
I love beans! I love all kinds of beans cooked just about any way. I love them steamed, sauteed, baked, fried and refried. Here is a quick recipe for the latter. These are refried beans taken to, dare I say it, another level. I generally hate that expression, but I couldn't resist. Sorry.

I normally try to say something more about the recipe at this point, but I'll be honest and say that I don't know what else to say. They are beans and they are good. There. That's all I've got.

Let's get crackalackin!

Ingredients
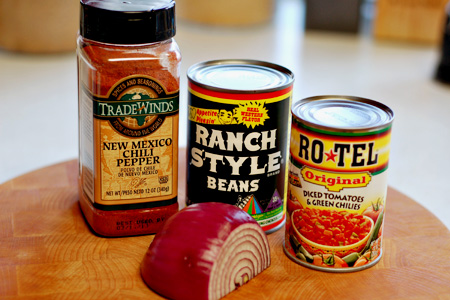
1 can (15 oz) Original Ranch Style Beans
1 can (10 oz) Rotel Tomato & Green Chilies, undrained
1/2 Medium red onion, diced
1/4 cup Water
2 tsp New Mexico chile powder
1 Tbsp Oil

Funky Refried Beans

Method
Heat the oil in a medium sauce pan.

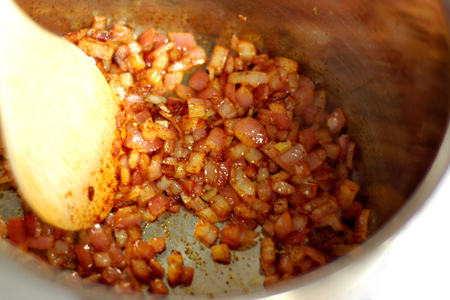
Add the onions and saute until translucent.

Add the chile powder and saute until the onions just start to brown.

Funky Refried Beans

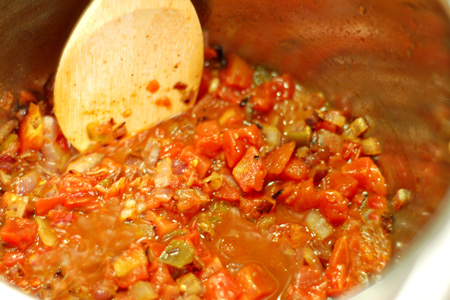
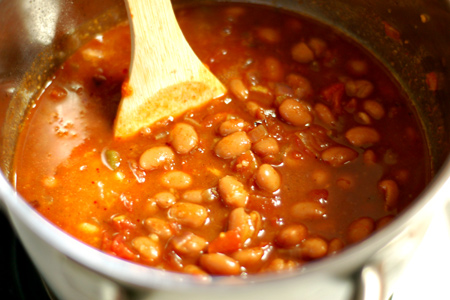
Add the Rotel and bring just to a simmer.

Funky Refried Beans

Add the beans and water then bring it back to a simmer.

Funky Refried Beans

Simmer covered for 30 minutes, stirring occasionally.

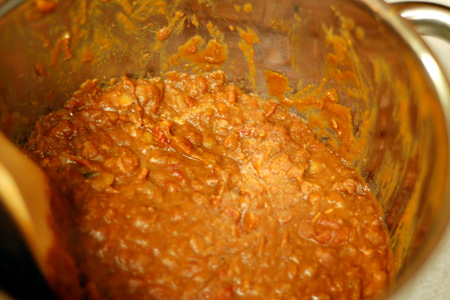
Mash the beans with a potato masher.

Adjust the consistency as needed by cooking uncovered or adding water.

Funky Refried Beans

Serve topped with a little grated cheddar or Colby-jack cheese and some sour cream (optional, but highly recommended).

Enjoy!

This would be a great side for my Broiled Tex-Mex Steak or East of Santa Maria Tri-Tip

Labels: ,


Chloe's 8th Birthday

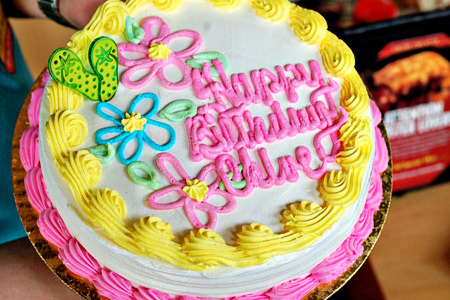
April is quite a month for us. We've got Easter, our anniversary, birthdays galore, taxes, and all kinds of other activities. Yesterday we celebrated one of those birthdays. Our youngest daughter, Chloe, is eight today.

She's eight today, but we had the big party yesterday. It all started at the local Build-A-Bear Workshop, and spilled over into lunch at Tucanos Brazilian Grill. If you have a Tucanos in your area, I highly recommend that you fast for three days and go there! It's one of those places where they bring you meat until you tell them to stop. Oh, and their salad bar is like doing nine holes of miniature golf. Suffice it to say that you'll leave very, very satisfied and then some. In fact, you might bring a wheelchair if you have one around the house.

Chloe's 8th Birthday

A great time was had by all, and we are now the proud owners of a Zhu Zhu pet ranch/homeless shelter. We've got a whole herd of the little battery-operated rodents. I think I saw one of our cats eying one of them yesterday afternoon.

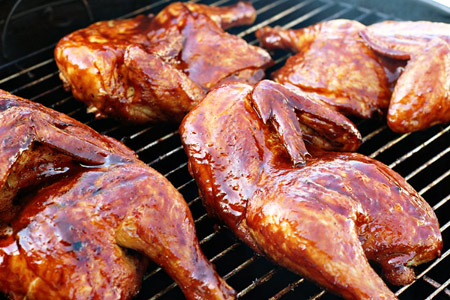
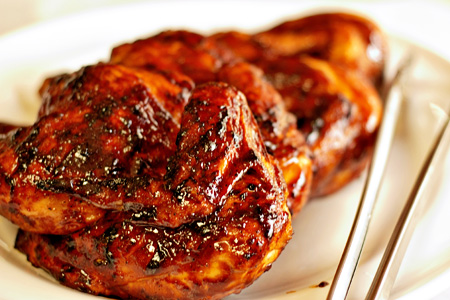
Tonight we had another hectic evening, so I decided to barbecue some simple chicken halves. I used Dirty Bird rub from my friend at Kosmo's Q, and it was great. If you are looking for a great MSG-free all-purpose barbecue seasoning, try it and thank me later.

Kosmo's Q Dirty Bird Chicken

Here's the yardbird just as it hit the table.

Kosmo's Q Dirty Bird Chicken

It was a good weekend, and I thank God for the family, provision, and undeserved mercy and grace that He has blessed us with.

Pulled Barbecue Beef (Chuckie)

If you love barbecue you no doubt know all about pulled pork. Well, this is the same concept, but it's beef. Because it's made with a chuck roast, it's referred to as a "chuckie" in barbecue enthusiast circles.

As with all of the large cuts common to barbecue, there is a fervent debate between the "low-n-slow" and the "hot-n-fast" cooking advocates. As I mentioned last year in my Hot & Fast BBQ Beef Brisket post, I'm now firmly in the hot-n-fast crowd. I just can't justify tremendously long cooks when I can get the same results in a fraction of the time.

Call it what you want, and cook it however you feel comfortable, but the end result is succulent and flavorful.

Let's get on the bidness end of some steer!

Ingredients
1 large (2-3lb) Beef chuck roast (I recommend a 7-bone)
1/8 cup of your favorite BBQ seasoning, of course I recommend mine
1/2 cup Beer

Method
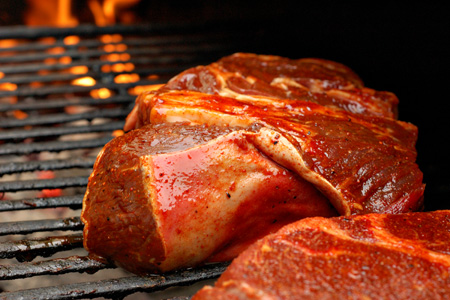
Season all sides of the roast liberally with the BBQ seasoning and pat it to make sure it adheres.

Put the roast in a large zip-top bag and refrigerate for 2-4 hours.

Start your fire and prepare for indirect cooking at medium-high heat (350-375º).

Add two small chunks of fruit wood (apple or cherry) and one small chunk of hickory to the fire about 10 minutes before you're ready to cook. Wood chips soaked for 30-60 minutes will work well, too. If you're using a gas grill, make a smoker pouch.

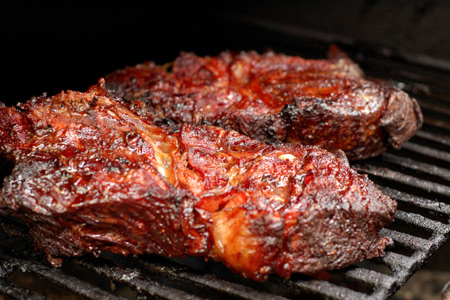
Cook the roast indirect until the internal temperature reaches 170-180º (about two hours).

Pulled Barbecue Beef (Chuckie)

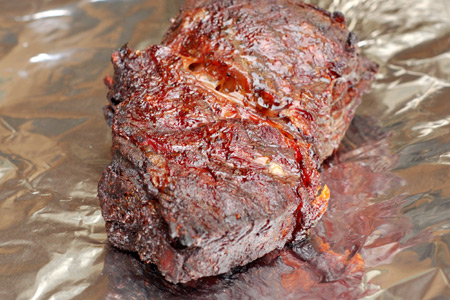
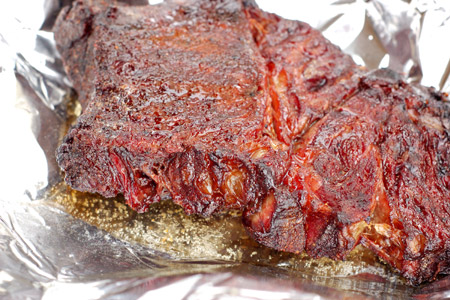
At this point it should look something like this.

Pulled Barbecue Beef (Chuckie)

Pull off a five foot long piece of wide (18") heavy-duty foil and fold it in half to form a double layer.

Put the roast in the center of the foil.

Pulled Barbecue Beef (Chuckie)

Form a boat by folding all the edges up slightly.

Add the beer to the foil.

Pulled Barbecue Beef (Chuckie)

Bring the two long edges together and roll them toward the roast to form a seal.

Fold the short edges over the top of the rolled edges to close the packet.

Put the packet back on the grill/cooker and continue cooking indirect until the internal temperature reaches 200º.

Remove the packet from the grill and let rest for 15-20 minutes.

Gently open the packet (there's a lot of steam in there).

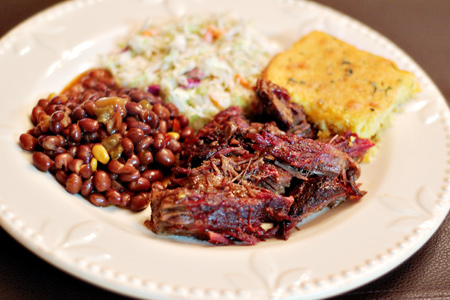
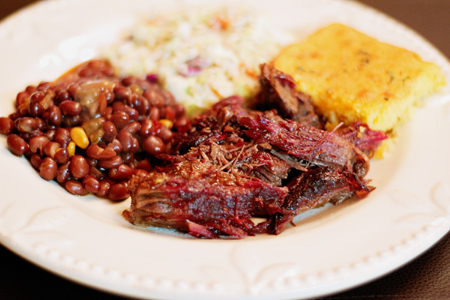
Pull the beef with forks and accessorize with your barbecue sides of choice.

Optional: Drain and de-fat the packet liquid then mix it with some of your barbecue sauce of choice. I think this sauce would be great here. Drizzle this over the pulled beef, or serve it on the side.

Pulled Barbecue Beef (Chuckie)

Enjoy!

Labels: ,


Review: KCBS 25th Anniversary Cookbook

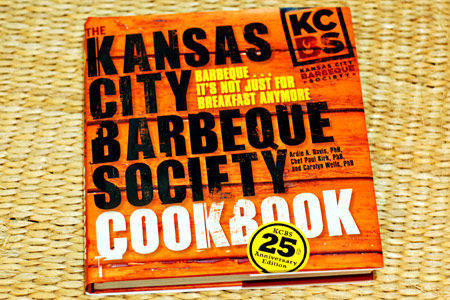
The other day I was walking toward the front door of the house when I spied a large package propped up next to the door. Upon closer inspection I saw that it was for me, and it was from Simon & Schuster. Of course, that meant that a review book awaited. I ripped it open, and what you see above was inside -- The Kansas City Barbeque Society Cookbook, 25th Anniversary Edition
I am always happy to review books that are sent to me, but this one was a little more special. Although Ardie A. Davis, Paul Kirk and Carolyn Wells are listed as the authors, this is a collection of recipes from all across the KCBS barbecue world. As the title indicates, this is part of the celebration of 25 years of KCBS history.
Let me start by saying that this is a book that has a very "high school yearbook" feel to it. This is somewhat expected, given its anniversary nature. The design is nice and the layout is clean. Each recipe includes a snippet of information about the author and/or the food. Some contributors, like Paul Kirk, are clearly featured much more than others. This became more and more evident the further into it I went.

When viewed purely as a cookbook there are two glaring areas where it falls flat for me -- photography and creative recipes. Don't get me wrong, there are some bright spots, but many of the recipes are not all that inspiring. The photography is poor, period. I understand that the "high school yearbook" feel that I mentioned lends itself to a scrapbook approach, but pictures of the food are few and very far between. The ones that are there are mediocre at best. People enjoy the story behind the recipe, but they also need to see the end result. This is what makes a recipe compelling. The visual is what makes you want to try the recipe.

In the end it was honestly a letdown. I really appreciate the passion of the contributors, but the overall impression that I was left with was that it seemed thrown together. If you are looking for a book that tells snippets of the KCBS story with some good recipes in the mix, this might be for you. If you are after a serious barbecue cookbook, there are many others that will serve you much better.

Labels: ,


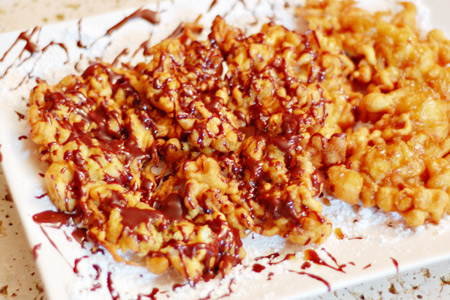
Funnel Cakes - Two Ways

Who can resist those soft and ever so slightly crispy rafts of fried dough? Most folks only get them one or two times a year at a fair or some other outdoor overeating extravaganza. That need not be the case. They are fun and fairly easy to make.

A wild hair emerged last night and I decided ditch the standard powdered sugar for dark chocolate ganache and lemon vanilla glaze.

Ingredients
1 1/3 cup Flour
3/4 cup Milk
1 Egg, beaten
2 Tbsp Sugar
1 1/4 tsp Salt
3/4 tsp Baking powder
1/2 tsp Baking soda
Canola oil for frying

For the ganache
3 oz Good dark chocolate, chopped (I used Scharffen Berger Semisweet)
1/3 cup Heavy cream

For the glaze
1/4 cup Sugar
2 tsp Heavy cream
1/4 tsp Vanilla extract
Zest of one lemon
Juice of one lemon (about two tablespoons)
Pinch of salt

Method
Make the ganache by bringing the cream just to a simmer in a small sauce pan over medium heat.

Add the chocolate and remove the pan from the heat.

Let sit for five minutes to allow the chocolate to melt.

Whisk until smooth and completely incorporated.

Set aside and let cool.

Make the glaze by bringing all of the ingredients to a simmer in a small sauce pan over medium-high heat.

Whisk until the sugar is completely dissolved.

Adjust the sweetness with more sugar to taste.

Remove from the heat and set aside.

Now, on to the funnel cakes!

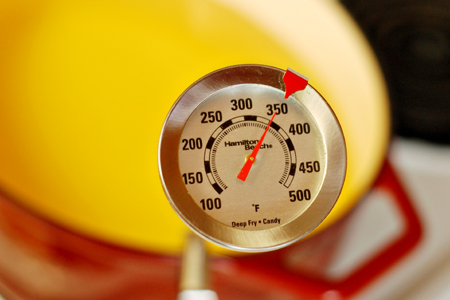
Heat two inches of oil to 375º in a large cast iron dutch oven.

Combine all of the batter ingredients in a mixing bowl and whisk to combine.

You want it to be thin enough to pour in a steady stream, but not too thin, so add more milk as needed. It should be about the consistency of a milkshake.

Put the batter in a pitcher for easy and safe pouring.

When the oil is ready, pour about 1/4 of the batter into the oil in a gentle and steady swirling motion.

Let the cake fry for about a minute, then gently flip it over.

Continue frying until the cake is a nice golden brown.

Remove the cake to a rack in a sheet pan.

Fry the remaining batter in batches. You can keep them warm in the oven.

Important: Let the oil temperature recover to 375º between each batch.

Drizzle each cake with the ganache, the glaze, or both.

Enjoy!

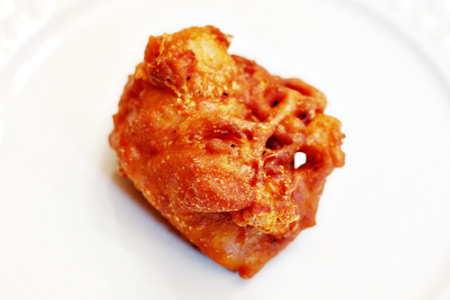
Warning! Eat too many of these and your heart will eventually look like this:

Funnel Cakes - Two Ways

Labels: ,


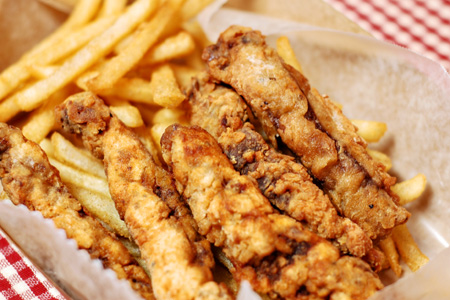
Finger Steaks

Finger steaks were invented right here in my adopted hometown of Boise, Idaho. The story is that Milo Bybee, chef at Milo’s Torch Lounge, created them in 1957 as a means of disposing of leftover tenderloin.

To be completely honest, I really don't care who invented them and when; they are seriously good.

Many of you now have a look on your face that resembles a dog that just heard a strange noise. "What in the world is a finger steak?!", you ask.

It's simply a strip of steak that is battered and deep fried. Deep fried steak... Just sit there and let that marinate in your brain for a minute.

Yeah, it's way good.

I've eaten my fair share of finger steaks and, while the originals were apparently made with tenderloin, most are dry and forgettable. I decided to try to make a version that is true to its roots without breaking the bank.

My recipe calls for flat iron steak. It's a vastly under-appreciated cut that is often referred to as the second most tender steak on the steer. It offers great flavor and outstanding tenderness at a small fraction of the price of tenderloin. As an added bonus, it's long and slender shape and generally uniform thickness is tailor-made for finger steaks.

OK, that's enough history and anatomy. Let's get cookin'!

Ingredients
1 1/2 to 2 lb Flat iron steak (or top round)
1 cup flour
1 Egg, beaten
1 1/2 Tbsp Seasoned salt (or a salty BBQ rub)
1 tsp Black pepper
1/4 cup Buttermilk
1/4 cup Dark beer
1 Tbsp Hot sauce (I use Frank's® Red Hot® or Crystal)

Method
Note: If you're using round steak, tenderize it with a meat mallet first.

Season each side of the steak with a teaspoon of the seasoned salt/BBQ rub.

Combine the flour, the remaining seasoned salt/BBQ rub, and pepper in a small bowl and mix well.

Combine the the buttermilk, beer, egg and hot sauce in another bowl and whisk to combine.

Cut the steak into half-inch wide strips that are about three or four inches long.

Dredge the steak strips in the flour mixture, then into the egg batter, then back into the flour.

Put the battered strips in a flat rimmed container pan and freeze. This really helps keep the batter intact when you fry them.

Finger Steaks

Deep fry the frozen steaks at 350º degrees until golden brown.

Finger Steaks

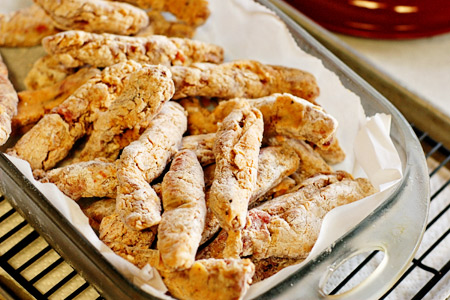
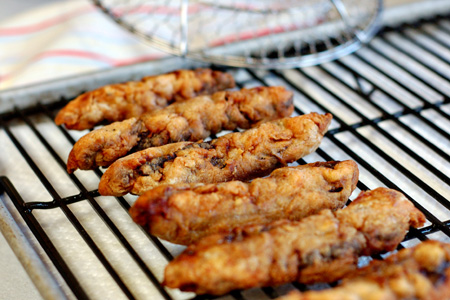
Tip: Fry in small batches (5-7 at a time) and keep them warm in a 175º oven on a rack in a sheet pan (as seen in the picture below).

Finger Steaks

Serve with french fries (of course) and cocktail or BBQ sauce for dipping.

Enjoy!

Labels: ,


Peep Kabobs

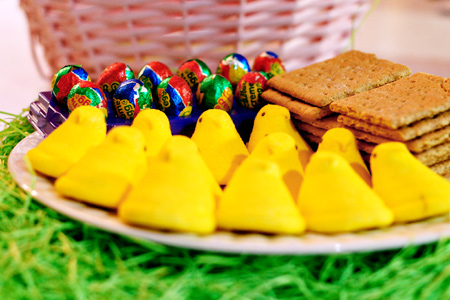
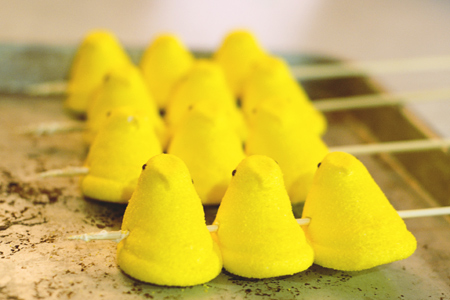
Yes folks, this is my contribution to the Peep silliness. Take some Peeps and throw in some bamboo skewers, a few Cadbury Creme Eggs, a box of graham crackers and a butane torch, and you've got yourself some Peep kabobs that quickly become smores.

This isn't so much a recipe as it is an excuse to play. I apologize for the poor pictures, but this was done on-the-fly.

Step 1: Assemble the necessary software.

Peep Kabobs

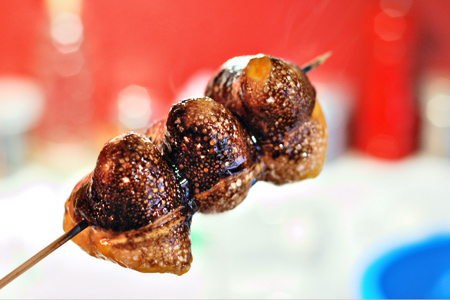
Step 2: Skewer your yellow blobs of deliciousness.

Peep Kabobs

Step 3: Acquire the fire and roast our little yellow friends until they are nicely caramelized and melting. They will tend to smoke and drip, so do this under a vent hood and over some foil or a sheet pan.

Peep Kabobs

Ain't they purdy?

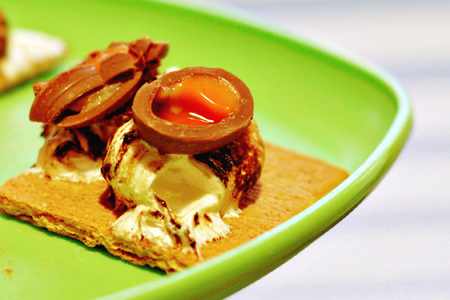
Put the gooey mass on half a graham cracker, top with a cracked Cadbury egg.

Peep Kabobs

Hit it gently with the torch, top and enjoy!

Peep Kabobs

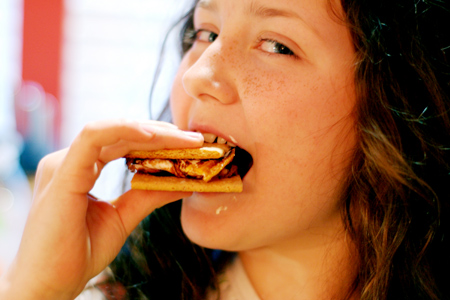
That hooligan you see there is our middle daughter, Shelby. Her nickname is "Bling Bling", which I think speaks for itself.

Garlic Herb & Honey Butter

Compound butters are a magical thing. They are brain-dead easy to make, but the results have a huge range of incredible applications.

This particular butter is intended to be served at the table for bread, but it would also be a great base for cheesy garlic bread. Just add some parmesan and cheddar, schmear, broil or grill and voila! Leave out the honey and it would be excellent as a elegant finish for grilled steak or fish.

Ingredients
1 lb Unsalted butter, softened
1 head Garlic, whole
1 handful Italian parsley, chopped fine (about 1/3 cup)
10 sprigs Thyme, stripped from the stem and minced
1 Tbsp Honey
1 1/2 tsp Kosher salt
1/2 tsp White pepper
1/4 tsp Ground cayenne
Olive oil

Method
Preheat your oven to 325º.

Carefully cut off about 1/4" of the root end of the garlic head.

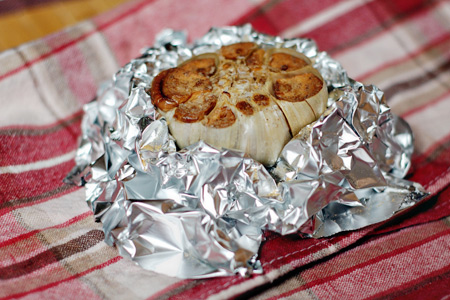
Make a loose foil nest that will hold the garlic cut-end-up (see the picture below).

Set the garlic in the nest and drizzle it with a little olive oil, then sprinkle with a dash of Kosher salt.

Roast on the center oven rack for one hour. Add an extra ten minutes or so if the head is overly large.

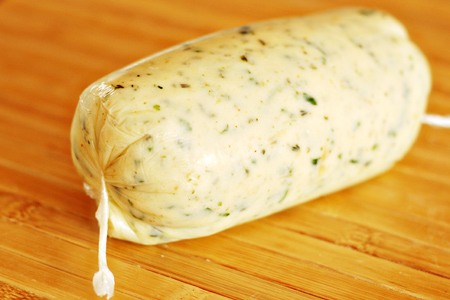
It should come out looking like this. Set it aside to cool.

Garlic Herb & Honey Butter

When the garlic is cool enough to handle, squeeze each clove out of the paper onto a cutting board. Remove any crusty bits from the browned ends and make sure none of the paper gets in the garlic.

Mash the garlic into a fine paste using the side of a knife. Again, check for and remove any crusty bits.

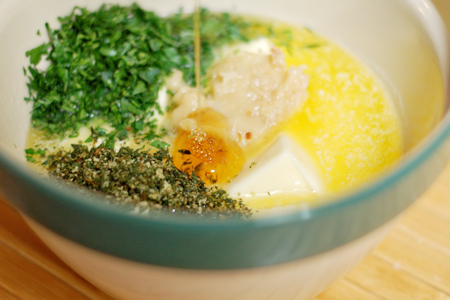
Put the butter, garlic, parsley, thyme, honey, pepper, cayenne, and one teaspoon of salt in a medium mixing bowl.

Garlic Herb & Honey Butter

Tip: To get the thyme really fine and to release all of the flavor potential, I grind it with a mortar and pestle with a little Kosher salt added. The salt acts as an abrasive.

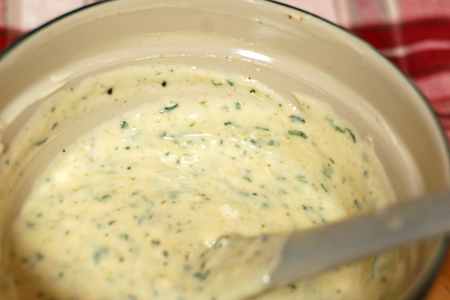
Stir until all of the ingredients are very well incorporated.

Garlic Herb & Honey Butter

If the butter is really loose, put the bowl in the fridge for a while to firm up. Stir it occasionally until it's about the consistency of a milkshake.

Lay an 18" long piece of plastic wrap flat on your counter.

Note: You need to use plastic wrap that clings to itself really well. I use Stretch-Tite® from Costco, which is great stuff.

Pour all of the butter lengthwise down the center of the plastic wrap so that it forms a "row" (I don't know what else to call it). You want about four inches of margin on the long sides, and about six inches on the short sides.

I know, I should have take a picture of this step.

Gently fold the long edges of the plastic over the butter so that they overlap as much as possible. Smooth the overlapped edges to seal them, but be careful not to squeeze the butter.

Here's the fun and potentially dangerous part.

Twist each short end as if you are wrapping a candy. Once you get them started, hold each end in each hand, lift the log from the counter and twirl it in front of you (jump rope-style) until the twists meet the butter and the log is tight.

Garlic Herb & Honey Butter

Put the log in the fridge for at least two hours to firm.

That's it! You now have some outstanding compound butter.

Thanks to our eldest daughter, Hailey, for her hand modeling and help in shooting these pictures. She did a fine, fine job. Way to go Hail!

Labels: ,


New Recipe Layout

I finally got tired of the recipe page layout, so I've updated it. It now has two columns of thumbnails with titles only (no descriptions) and better image frames. I think it's cleaner and looks more up-to-date. Tell me what you think.

<< Older Posts

Newer Posts >>


Popular Recipes
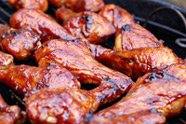
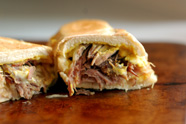
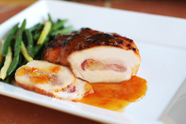
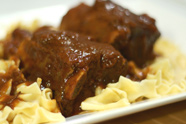
All-Purpose BBQ Seasoning Braised Nectarines with Champagne Honey Caramel Classic BBQ Chicken Drumsticks Cuban Rueben Grilled Chicken Cordon Bleu Homemade Hot Sauce Hungarian Braised Short Ribs The M.O.A.B. Pulled Pork Pockets Rattlesnake Tails Slammin' Salmon Sweet-n-Sassy BBQ Almonds View all of my recipes
 
Other Popular Posts
Competition BBQ 101 Review: Original vs Competition Kingsford® Charcoal Review: Kingsford® Competition Briquetes Discovery: Kiwi Knives Discovery: Quality Inexpensive Injector Book Review: Serious Barbecue